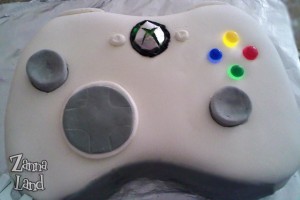
As you know, I discussed my past cake creations earlier and it was within the comments of that entry that the suggestion came in from my good friend Luis to make an Xbox controller cake. I instantly agreed that would be the perfect idea for my Xbox Live-addicted 11 year-old. It also seemed like it could be do-able with some fondant and a little creativity. So last night, I embarked on the journey to create the ultimate Xbox 360 controller cake! (Thank goodness I had the help of my husband or I’d still be working on it now.)
What I did was make two layers, one chocolate, one yellow, from scratch. While those were cooking I made some marshmallow fondant (ok, a LOT). I made two bags of mini marshmallows worth…which meant I used almost FOUR bags of powdered sugar to get it to stop being sticky. (as usual, click on each picture to see it full-sized)
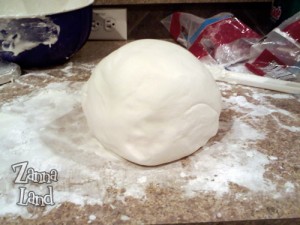
It was quite the arm workout too. And made an absolutely crazy amount of mess. Once it finally comes together though, it feels like such an accomplishment! I’m really not sure I’d make it again…although I haven’t used store-bought fondant, so I’m not sure if it’s more difficult to work with.
Next I whipped up (literally) some buttercream frosting to go between the layers and on top as a crumb coating before the fondant went on. J. and I made the buttons and such out of fondant (thank goodness he was there to tint it grey because mine looked like melted rainbow sherbet before I called him over). J. also carved the cake to the controller shape…I wasn’t confident enough to attempt that.
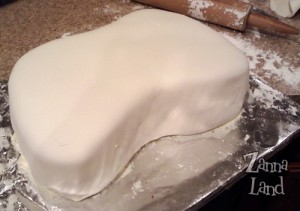
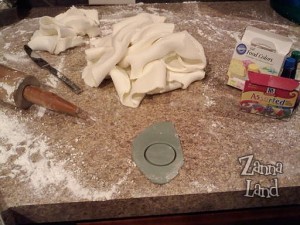
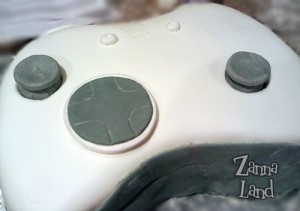
It took a long time to figure out how to get the idea of how I wanted the buttons to look and work in my head, translated into fondant. I wanted to add the shoulder buttons too, even though it’d be on the back of the cake.
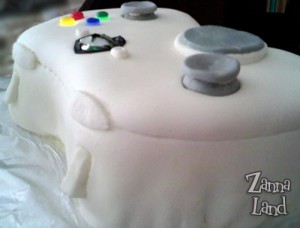
The hardest part was the Xbox guide button, that glows and shows you which player you are. It is metal-looking with the green X, so I knew I wanted it to be shiny. We played around with a few ideas before I decided to cut up the disposable cake pans and make an X in that, trying to shape it into a button shape too. It could’ve been better, but hey, I am an amateur!
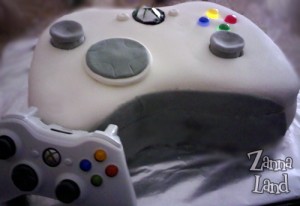
For the A, B, X and Y buttons, I stuck glow sticks in vertically and topped them with gel icing, which I think came out really well. If I tried to write the letters on them, I think it would’ve ruined them so I kept them plain. I also didn’t attempt the Microsoft name or port in the back of the controller. I had to stop somewhere. I know there are some flaws and places where it could look better, but as my first personal attempt with making and working with fondant, I think it’s pretty good. And both kids said “COOOOOL!” so that’s all that really counts. (And the people at the party place asked if I made cakes for a living, so that was nice too.)
WOW! You go girl!! What a great job!!
My oldest took some Wilson cake decorating classes and she made a Herbie the Love Bug cake one time that was awesome!
You did a great job!
Looks delicious – love the glowsticks too – great touch.